a very casual fuji x100 review
07/15/2019
Hello again! Wow, what a week of new experiences. My first ever digital camera finally arrived last week and I’ve been in love since day one! I got myself a first-generation Fujifilm X100 after selling my heavy Canon setup (that thing was like five pounds with the booster grip) and it’s been a total blast!
Hello again! Wow, what a week of new experiences. My first ever digital camera finally arrived last week and I’ve been in love since day one! I got myself a first-generation Fujifilm X100 after selling my heavy Canon setup (that thing was like five pounds with the booster grip) and it’s been a total blast!
So, what makes the Fuji X100 special to me, despite its 8-year-old age? This is my first experience with a digital camera, a rangefinder body, and working with a dedicated 35mm equivalent focal lens. Having a digital rangefinder is a very interesting experience. I find myself preferring to use the optical viewfinder (OVF) and using the electronic viewfinder (EVF) quick zoom patch to nail my focusing. I really love how Fuji included parallax compensation when using the OVF, makes composition and focusing quick and easy!
As for the film simulation, I love, love, love the simulations. I low-key hate spending time heavily editing my photos for the perfect look as I’m not a professional photographer. The film simulations are a perfect match for my workflow as Fuji’s jpeg engine usually nails the colors I’m looking for and most of the time, all I have to do is straighten out the image and if needed, adjust the colors a little bit.
Here’s my general workflow:
1) Shoot
2) Upload jpegs onto iPad
3) Adjust in my Darkroom app - cropping/color tones
4) upload!
Quick and easy, just the way I like it. My go-to color film simulation is Astia, for black and white I use Monochrome with the Green filter. I’ve fiddled with the settings a little bit, I guess I’ll post the recipes at the end of this post tonight when I get home! I know I personally always want to know how people tweak their settings so that I may learn from them.
-
 Haddonfield Station, NJ
 -

-
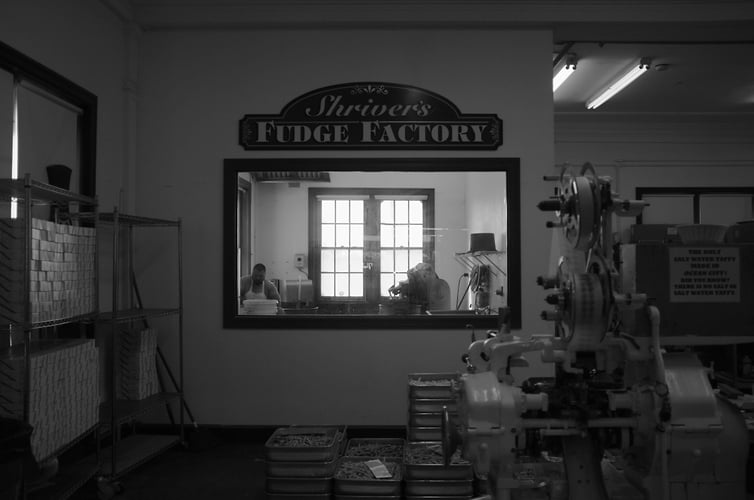
 okay, hear me out. I don’t get why fudge is such a hot commodity. It’s overbearingly sweet and it has the texture of toothpaste. The reason why it’s always cut into small pieces is because any amount of fudge greater than the size of a coin is enough to induce hyperglycemia
Struggles I’ve been having with the camera is just always nailing my focus immediately and understanding my camera settings. At the moment, I’ve been using single-point autofocus (AF-S) and just using the zone select and control pad to choose my focus point, but I’ve heard great things about going manual and using peak focusing. Another experiment for another day!
As for my settings, I guess I’m so used to the three dials on a film camera (iso, aperture, shutter speed) that I get overwhelmed at times when I open my digital camera’s settings. Slowly but surely though, I’ve been constantly referring to my manual and online forums to understand what and how auto-iso, dynamic range, and other things can be modified to get the look I want.
But until then, I’m super happy with the X100! It’s definitely my go-to everyday camera now and I really do agree with others when they say that 35mm is a perfect length for everyday shooting. Until then, ciao!
-kdo
more photo examples below!
UPDATE~
Oof, I’m a bit late, but here are my camera settings! Just a little reminder for myself. I tend to shoot jpeg and since I’ve been lazy and haven’t been practicing my sunny 16, I just set everything to Aperture Priority. I manual focus with the help of focus peaking at the moment!
Auto ISO: Max sensitivty 3200, minimum shutter speed 1/80
Custom 1 (color):
Dynamic Range: Auto
Film Simulation: Astia
WB Shift: +2 Red, -2 Yellow (I’ve been thinking of turning it down to +1, -1)
Color: High
Sharpness: M-Hard
Highlight Tone: M-Hard
Shadow Tone: Standard
Noise Reduction: M-Low
Custom 2 (bnw):
Dynamic Range: 100
Film Simulation: Monochrome w/ Green filter
Color: MID
Sharpness: M-Hard
Highlight Tone: STD
Shadow Tone: M-Hard
Noise Reduction: M-Low
voila!


